|
|
|
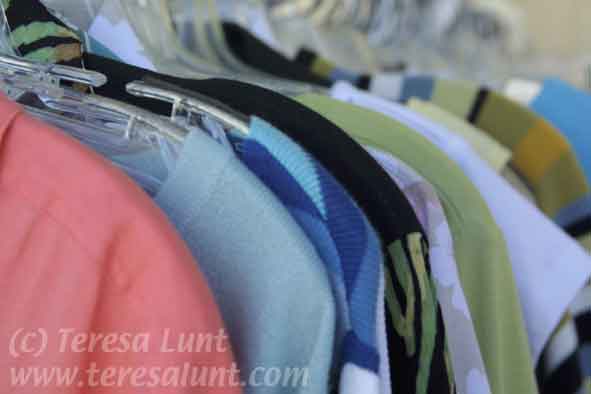
Tutorial 13: Clothes Rack This time we will start with a photograph that I took on a recent trip to Florida. I was wandering the streets of a sleepy little town that had some cheap clothing and other merchandise displayed haphazardly on tables and racks on the sidewalk. These clothes were hanging on one such outdoor rack. The original photograph, which was taken with my Canon D30 digital camera, can be seen in Figure 1. |
|
Figure 1 is an ordinary photograph without a whole lot of interest. What attracted me to the composition were the colors and the repeated curves. Yet, on the whole, the picture is unremarkable. What we will try to do is to make this picture lively and interesting by mimicking an effect used by film photographers known as cross-processing. With cross-processing, you expose your photographs on a print film, but then process the film in slide chemistry, which is the wrong chemistry for the film. This creates some interesting effects with colors, shadows, and contrast. It can add some unusually and highly unnatural looking color to a photograph. If you try this with film, you have to do a lot of experimenting, as the results are unpredictable. But if we use a tool like Photoshop, we can keep trying effects until we find a method that works for a given image. The method we will use here has worked for me for many images (for example, look here), but not for all. If you apply it to one of your own images, make sure to experiment with the various steps. Don't just use the settings I used, but experiment with different ones. Each image is different, and demands its own treatment. |
|
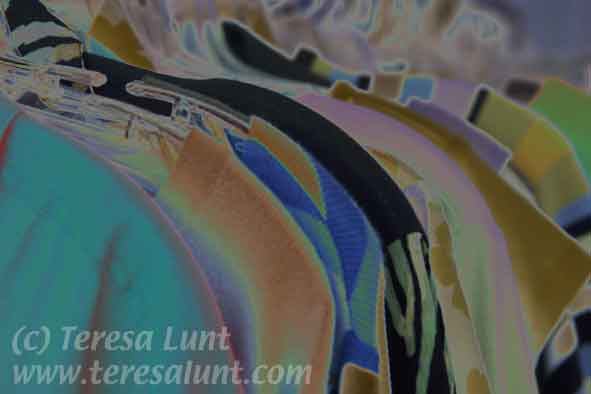
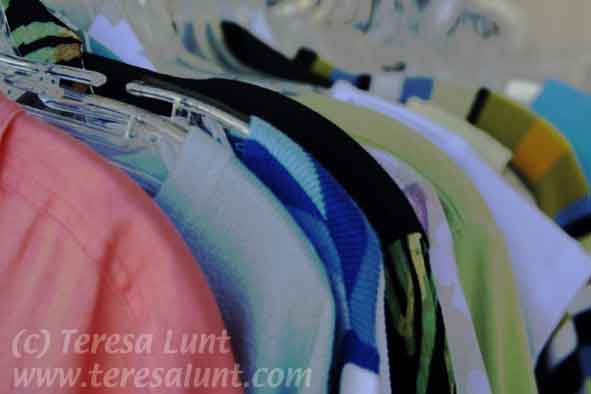
To create a cross-processing effect, however, we need to fade to Overlay mode, by using Filter>Fade at 100% opacity and choosing Overlay from the pulldown menu in the dialog box that comes up. Fading to overlay mode uses the brightness/darkness of the solarized image with the colors of the original image. You can see the results so far in Figure 3. |
|
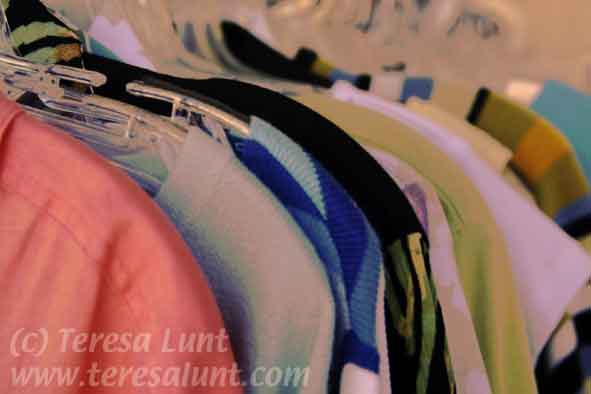
Figure 3 is interesting, but the colors are too cold. So next we will use the Channel Mixer to add some warmth. The Channel Mixer, as its name implies, can be used to mix the contents of the three color channels red, green, and blue in arbitrary ways. For this image, using Image>Adjust>Channel Mixer, we choose the blue channel and use the blue slider to reduce its intensity to 80%. Next we choose the red channel and use the green slider to add 30% of the green channel to the red channel. The effects of using the Channel Mixer on the image can be seen in Figure 4. These particular adjustments may not work for your images, you just have to experiment. It's very difficult to predict the effects of the Channel Mixer, but if you first look at the red, green and blue channels in the Channels palette, you may get an idea of what to try. |
|
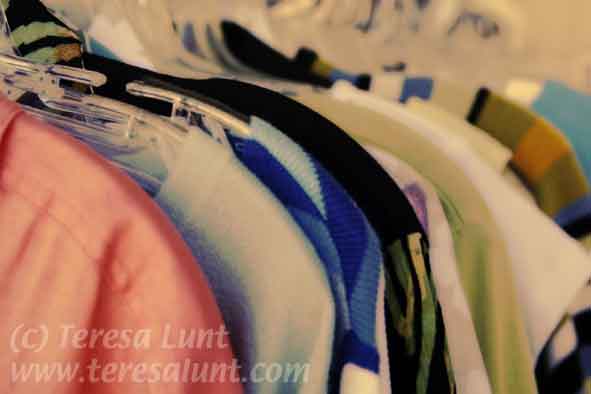
Now I wanted to add some emphasis to the highlights of the image. So next I chose a warm yellow color for the background color. To select the background color, click on the lower right box of the in the two big boxes in the main toolbar: the upper left box is the foreground color, the lower right box is the background color. When you click on the background (lower right) box, the Color Picker will come up. Click on a color to select it as the background color. Once we have selected the background color, we can use the Diffuse Glow filter. This filter uses the background color to add a glow of that color to the highlights of the image. Use Filter>Distort>Diffuse Glow, set the graininess to zero, and use a glow amount of around 5. Leave the clear amount at its default setting of ten. When you use this filter, if you overdo it, you can try again with a lower glow amount, or you can simply use Filter>Fade and reduce the opacity until you get the effect you want. You can see the results of using the Diffuse Glow filter on this image in Figure 5. |
|
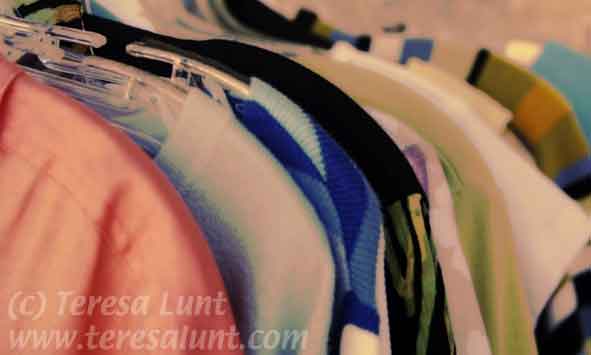
I like the yellow glow on the highlights in Figure 5. But there is too much yellow in the background of the image. I'd like to add some red tone there. But I can't just use Channel Mixer or Hue/Saturation to select the yellow background color, because this will also select the yellow glow in the highlights. So instead I used Image>Adjust>Replace Color. In the dialog box that comes up, use the eyedropper to select the yellowish/brownish color in the upper right part of the image, put the fuzziness around 70% (you have to experiment with this to make the effect as natural as possible) and use the hue slider to add some red by moving the slider to the left. The effect of this is to add a red tone to just a portion o the image. In particular, it left unchanged the nice yellow glow on the red shirt in the left foreground. In addition, I cropped off some of the top of the image to remove some confusing details. You can see the final image in Figure 6. |
|
The final image is a much livelier version of the original, with interesting colors, shadows, and glowing highlights. |
![]()
