|
|
|
|
|
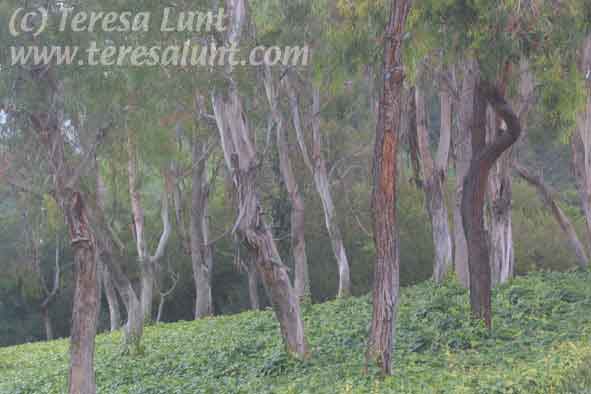
Tutorial 6: Dappled Trees This photograph of trees on sloping ground in Figure 1 was taken in Irvine, California, using my digital SLR, the Canon D30, with the 75-300 zoom lens. I chose a small aperture so that the far trees would be in focus as well as the trees in the foreground. |
|
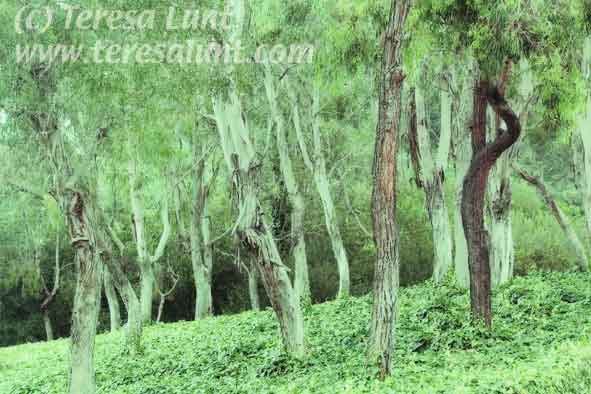
The first thing I did was to make two duplicate layers in Photoshop. In the top duplicate layer, I moved to the channels palette, selected the green channel, and increased its brightness slightly using Image>Adjust>Curves. I also applied a 4 pixel Gaussian blur to this channel using Filter>Blur>Gaussian Blur. Then I added a glow in the highlights on the green channel by using Filter>Distort>Diffuse Glow with a white background color selected. I then set the blending mode of the layer to multiply. |
|
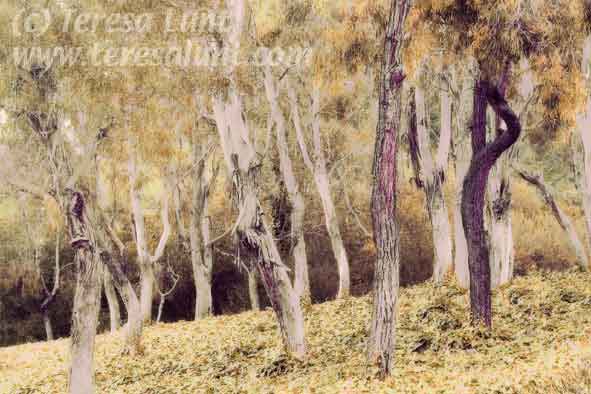
As you can see, Figure 2 is much too green. While the tree trunks have some nice browns, the paler trunks are too green. We will fix this by flattening the image and using a variety of color tools. Using Image>Adjust>Replace Color I selected the lighter tree trunks with the eyedropper, moved the fuzziness slider around until only the tree trunks were selected, and then moved the hue slider to the left to get some brownish color into the tree trunks. The effect is previewed right in the image, so you can see exactly what you are doing. Then, using the channels palette, I selected the green channel and applied a slight diffuse glow. I used Image>Adjust>Hue/Saturation to warm the image by shifting the hue toward the yellow. And I used Replace Color again on the tree trunks to whiten them somewhat. Then I used Image>Adjust>Color Balance to add some magenta to the shadows. This last step adds contrast to the image as well as a little color. You can see the results so far in Figure 3. |
|
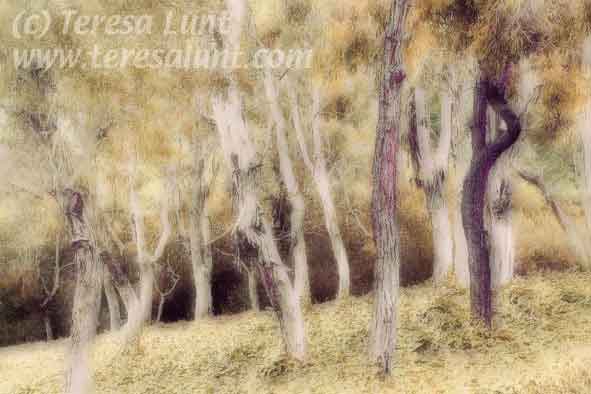
Now to get a more painterly feel, I made a duplicate layer, and I applied a Gaussian blur to this layer. Then I used Edit>Transform>Scale to slightly stretch the layer in both dimensions. Then I also applied a slight Diffuse Glow to the lower layer. I applied Unsharp Mask to the lower layer with the maximum amount, a small threshold, and a small radius, to lend a detailed pen and ink feel. I also applied some cyan to the highlights in the lower layer, using Image>Adjust>Color Balance. Then I flattened the image. You can see the results in Figure 4. |
|
Now I want to work a bit on the composition. First I want to apply more emphasis to the diagonal. I did this by selecting the image (Select>All) and using Edit>Transform>Distort to drag down the lower left corner and pull up the upper right corner. I also used Edit>Tranform>Scale to narrow the image somewhat. These operations steepen the diagonal. |
|
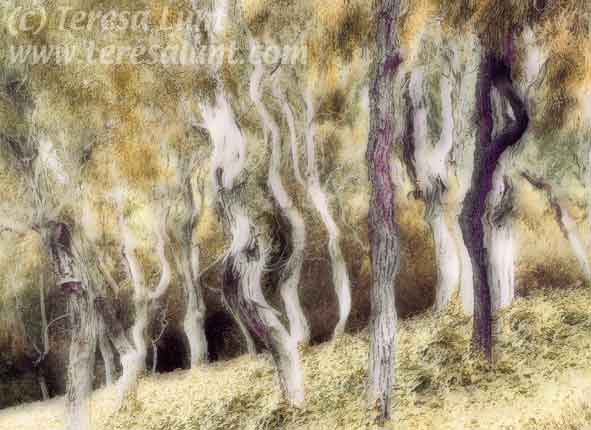
The result of all this work is an image that has the feel of a detailed pen and ink drawing that has been painted in with washes of color over the leaves and ground. The color gives an effect of dappled sunlight, yet the deep shadows retain a sense of mystery. The slope of the ground and the trunks of the trees add a feeling of tension. There is a nice balance of light and dark, with good shadow detail and a glow to the highlights. If you compare this with the original image, you can see that we have completely transformed the image, while retaining much of the original composition. |
![]()