|
|
|
|
|
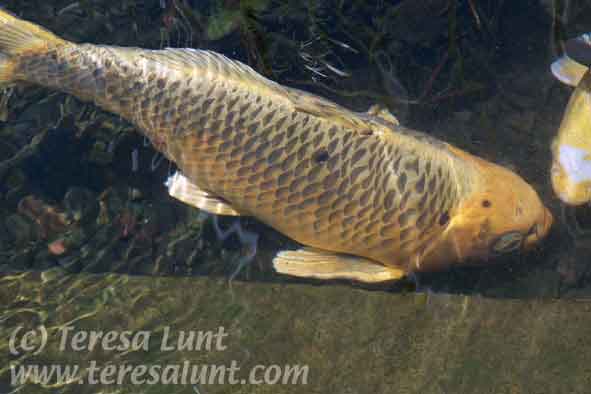
Tutorial 7: Koi This photograph of koi was taken using my Canon D30, with the 28-135 zoom lens. This particular fish was swimming in an artificial pond in a large shopping center in Irvine California. The water was very shallow, so in the photograph you can see the bottom of the pond, which was concrete in places and loose stones in other places. Also the day was bright and sunny, around noon, so there is glare from the surface of the water. I was able to get quite close to the fish so that it almost filled the frame of the picture. You can see this photograph in Figure 1. |
|
To start, I am going to do some drastic manipulations to unblock the black areas and get some color into the image. First we will apply Filter>Stylize>Solarize. Then we will use Filter>Fade, and select Luminosity blending mode at 100% opacity. Luminosity blending mode returns some of the original color of the fish. Basically what we have done so far is to eliminate the bright highlights and to greatly reduce the luminosity of the lightest parts of the image. This is all in preparation for the next step, which is Image>Adjust>Invert, which takes the inverse of the image. Then we will use Filter>Fade, again in Luminosity blending mode with 100% opacity. Inverting the image makes all the very light portions black, and I didn't want large dark portions in the image. That is why I chose to mute those light portions of the image first, using the Solarize filter. |
|
My next concern is to reduce the difference in color between the bottom of the picture and the blue background of the rest of the image. We will do this by using Image>Adjust>Replace Color. Replace Color is a very powerful tool that allows you to use the eyedropper to precisely choose a color in the image and change it to another color. There is a fuzziness slider for Replace Color that lets you adjust how wide a color range will be affected by the change. You can preview the results directly in the image, so you know exactly what you are doing. Before using Replace Color, we will first use the Lasso tool to select just the lower portion of the image. This is because we do not want to change the colors in the rest of the image. We will also feather the selection (Select>Feather), so that any change we make fades gradually into the rest of the image. I used a feather of ten pixels, but you can use whatever number works. Use the Replace Color eyedropper to choose the greenish color of the image foreground, and use the color sliders to make as good a match as possible with the blue background. You may have to use Replace Color several times to do this, each time selecting a somewhat different color range, until you are happy with the result. |
|
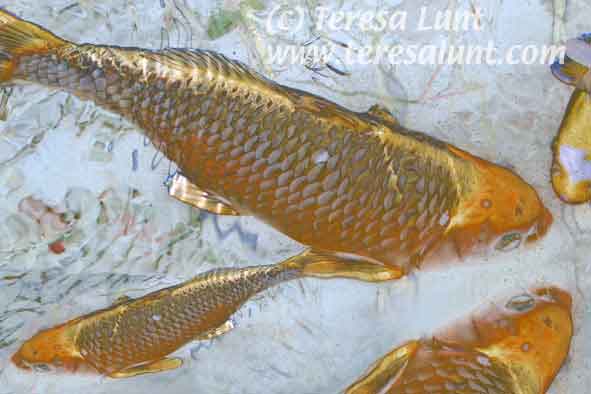
Now I selected the layer with the fish flipped horizontally. First I cut away the darker foreground pixels as we did in the previous layer using a feathered selection at 10 pixels. Then I shrunk this layer using Edit>Transform>Scale to make the fish about one third its original dimensions, and I used the Move tool to drag this shrunken fist over the lower left of the image, overlapping its tailfin with the fin of the larger fish in the background layer. I used Edit>Transform>Rotate to tilt the smaller fish somewhat, and I used Edit>Transform>Skew to get the width of his tailfin to match the width of the larger fish's fin. |
|
Now we are ready to work on the color. I used Image>Adjust>Channel Mixer, but you can use any of the color tools to experiment with the color. My final result is in Figure 5. |

|
You can see that in the final image, it no longer appears as if you can see the bottom of the pool, and all that distracting bottom detail and the glare on the surface ripples of the water have been transformed into an interesting background texture somewhat like Japanese paper. Also, we have created an interesting composition of several fish, instead of a picture of a single large fish all by itself filling the image. We produced interesting and vivid colors, bringing out the brilliance of the fish. The shimmer of its scales is evident in the purple reflections, as the scales appear to pick up some reflected color from the water and some lighter magenta direct reflection from the sun. As we originally envisioned, the final result has the feeling of a painting or woodblock print. |
![]()