|
|
|
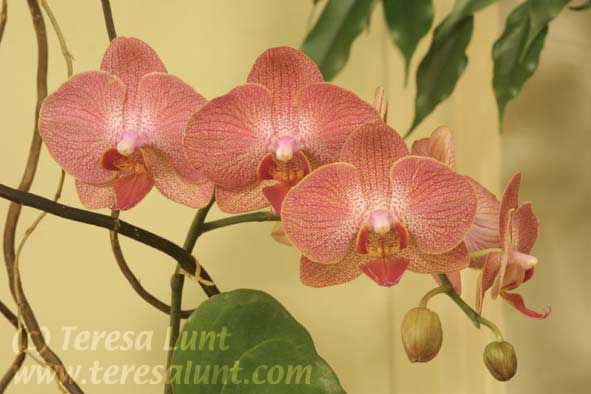
Tutorial 9: Orchids After photographing orchids in the botanical gardens in Hawaii on several recent trips, I decided to see whether there were opportunities to photograph these beautiful and exotic flowers somewhere closer to home. Looking on the web, I found several florists relatively nearby who specialize in orchids. The photograph of moth orchids in Figure 1 was taken at Rod McClellan Botanicals in San Mateo California, a florist specializing in orchids who was kind enough to let me set up my tripod and spend a few hours in his shop. I captured the image using my digital SLR, the Canon D30. While many of my orchid photos are taken with a macro lens, which allows me to get really close to the flower, this image was taken from a distance with a telephoto lens, so I could capture the entire arrangement of blossoms along the branch, as well as some foliage. |

|
What I like about this photograph is the nice composition of the orchid blossoms one in front of another, arranged laterally along a horizontal branch. I also like the interesting color of the flowers, the round unopened buds, and the leaves in the background. |

|
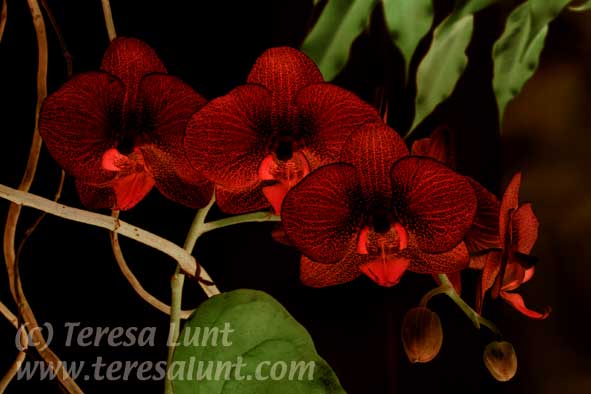
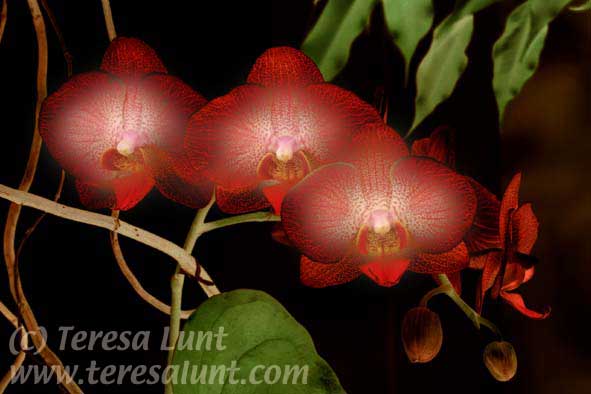
My next step was to add a layer mask to the top layer (Layer>Add Layer Mask>Reveal All). "Reveal All" means that none of the top layer is yet hidden or masked. In the Layers palette, the layer mask is all white. We will use the paintbrush to paint black areas onto this layer mask. Where we paint with black on the layer mask, the bottom layer is revealed. To do this, click on the white layer mask, then click on the paintbrush tool, make sure black is the foreground color in the toolbar menu, select a large soft-edged brush from the brushes palette, and select a medium (perhaps 75%) opacity for the brush from the paintbrush options palette. I like to use a Wacom tablet with pen input for painting and drawing steps, because it gives you more control, but you can also use the mouse for this step because we are not trying to be very precise. |

|
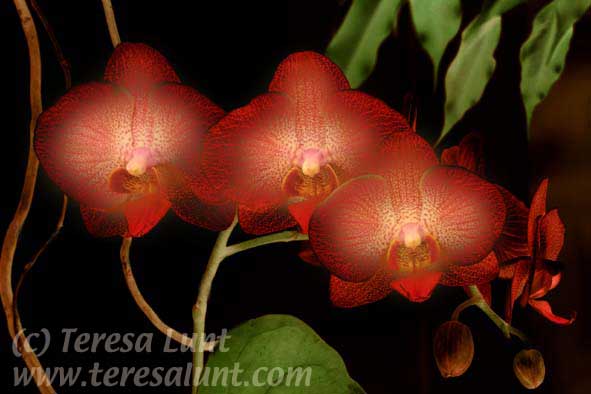
Next I wanted to remove some distracting detail from the image. Using the clone tool, I removed the bright horizontal branch. Now I did some fine tuning of the color. On the bottom layer I used Image>Adjust>Curves to slightly darken that layer, which made the bright parts of the flower slightly darker in the composite. I used Image>Adjust>Channel Mixer on the bottom layer to reduce the amount of blue (in the channel mixer palette, select the blue channel from the drop down menu, and then reduce its percentage to around 75%). What this does is shift the color of the bottom layer toward yellow, which slightly warms the color of the flowers in the composite. Finally, I used the clone tool to remove a small branch in the lower left corner of the image. Then I flattened the image (Layer>Flatten Image), which combines all the layers. |

|
The final result is a vibrantly colored image that draws your eye directly to the center of the flowers. The glowing flowers create an unusual effect that creates a great deal of interest. There are just enough additional elements in the composition to create a natural context for the flowers without overwhelming them or distracting the eye. Comparing this with the original image, you can see that we have completely altered the mood, creating an almost painterly effect. |
![]()
